
Full 25-point door and opener safety check with every visit - springs, cables, rollers, tracks, and your LiftMaster or Chamberlain opener included
You get a price before we start. It does not change when the truck arrives.
 Before
 After
After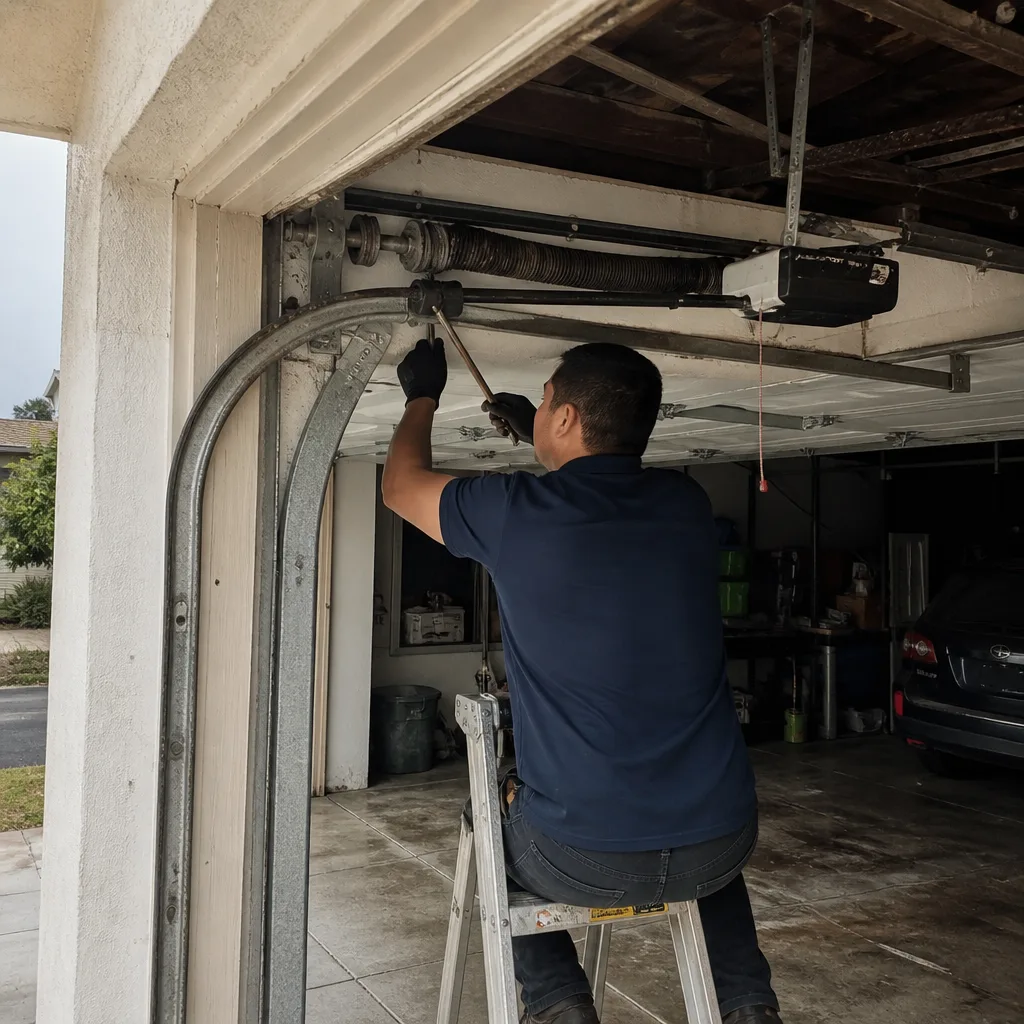 Before
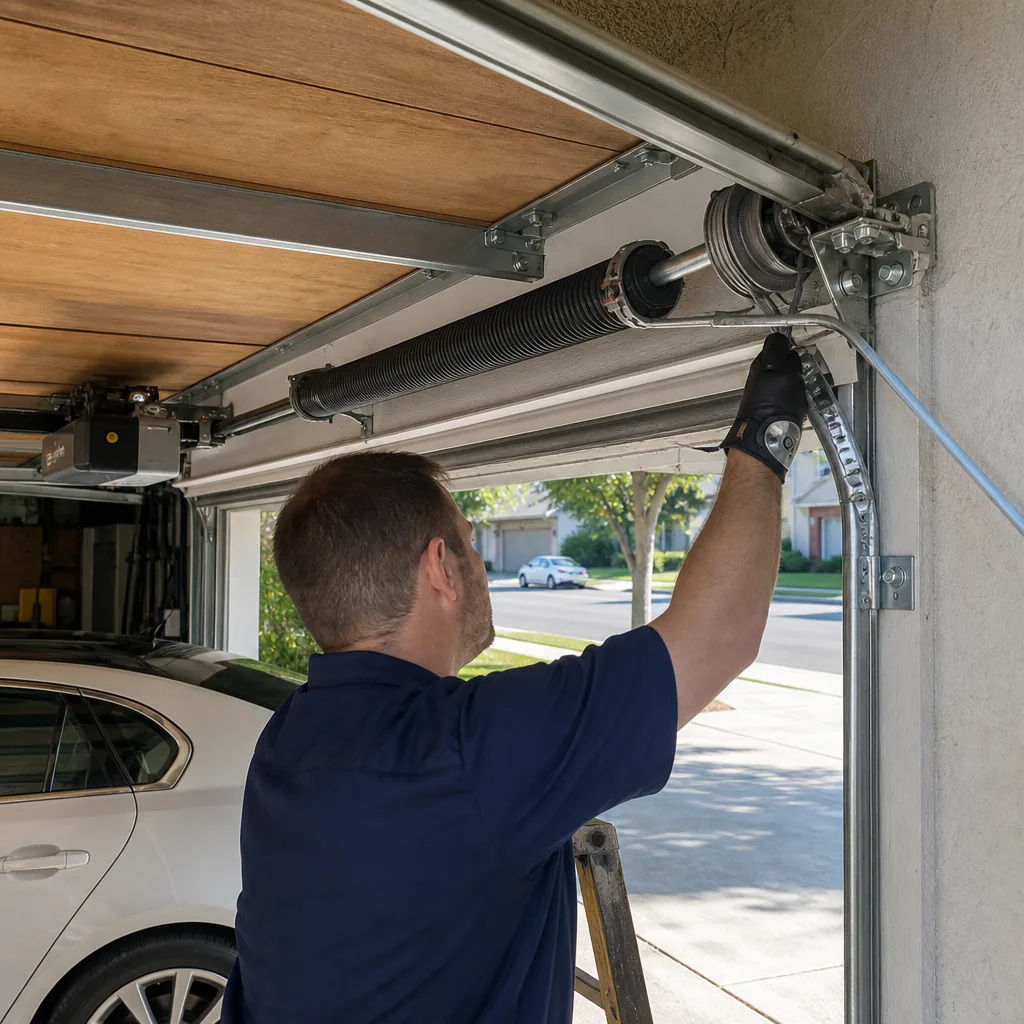 After
After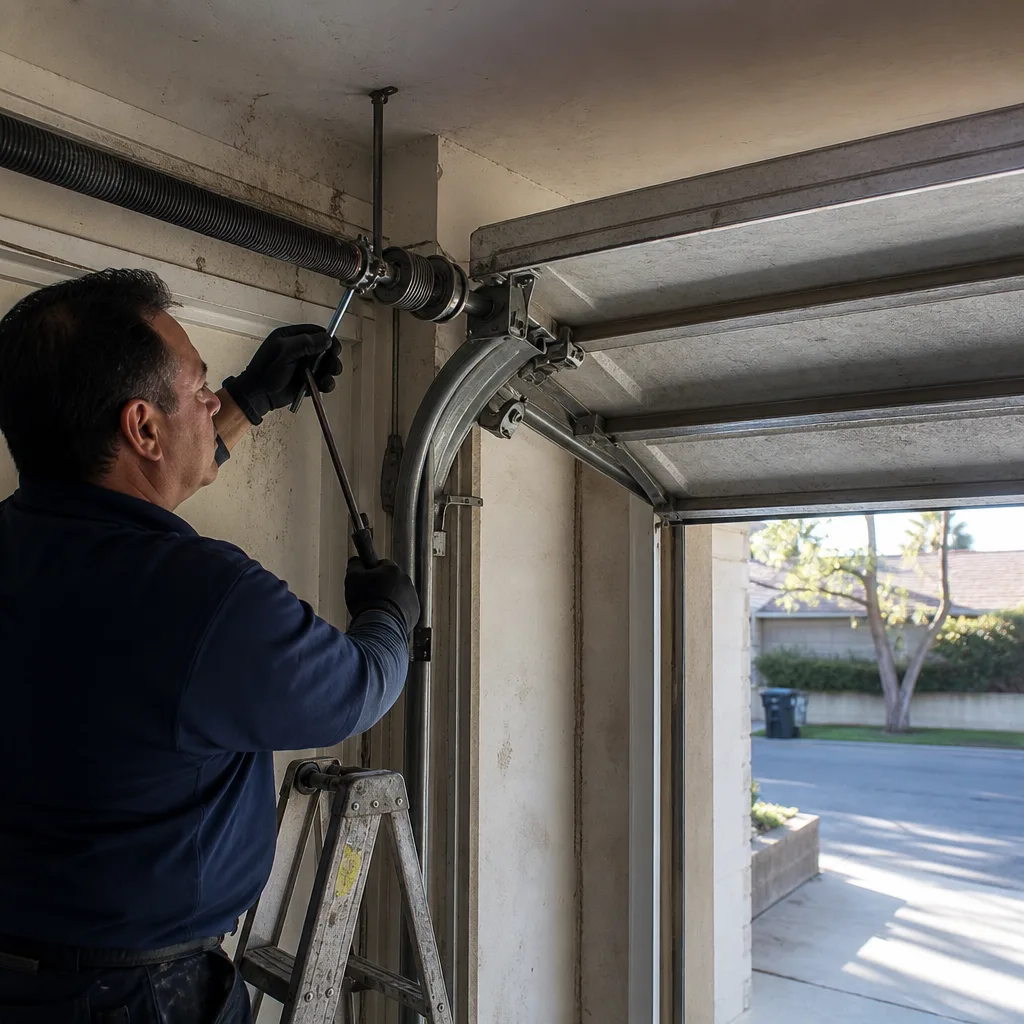 Before
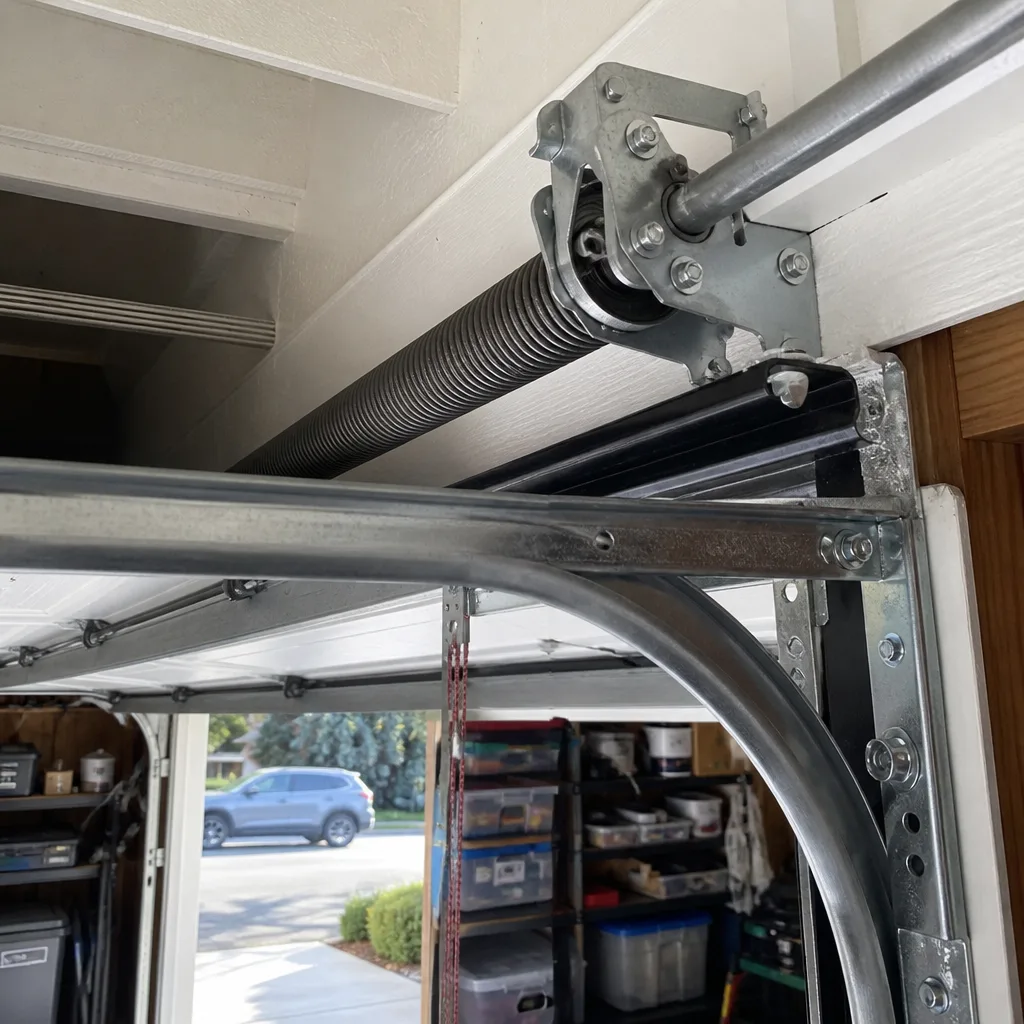 After
AfterLiftMaster Garage Door Installation in Pasadena: What to Know First
LiftMaster garage door installation in Pasadena typically runs $700-$2,200 for a complete new door and opener, with most standard single-door jobs landing between $900 and $1,500. We’re an independent LiftMaster service provider - not a factory dealer - which means our written price reflects what the job actually needs, not a national pricing matrix. The flat, written quote you receive before any work starts is the price you pay, per Clause 1 of The Haven Standard.
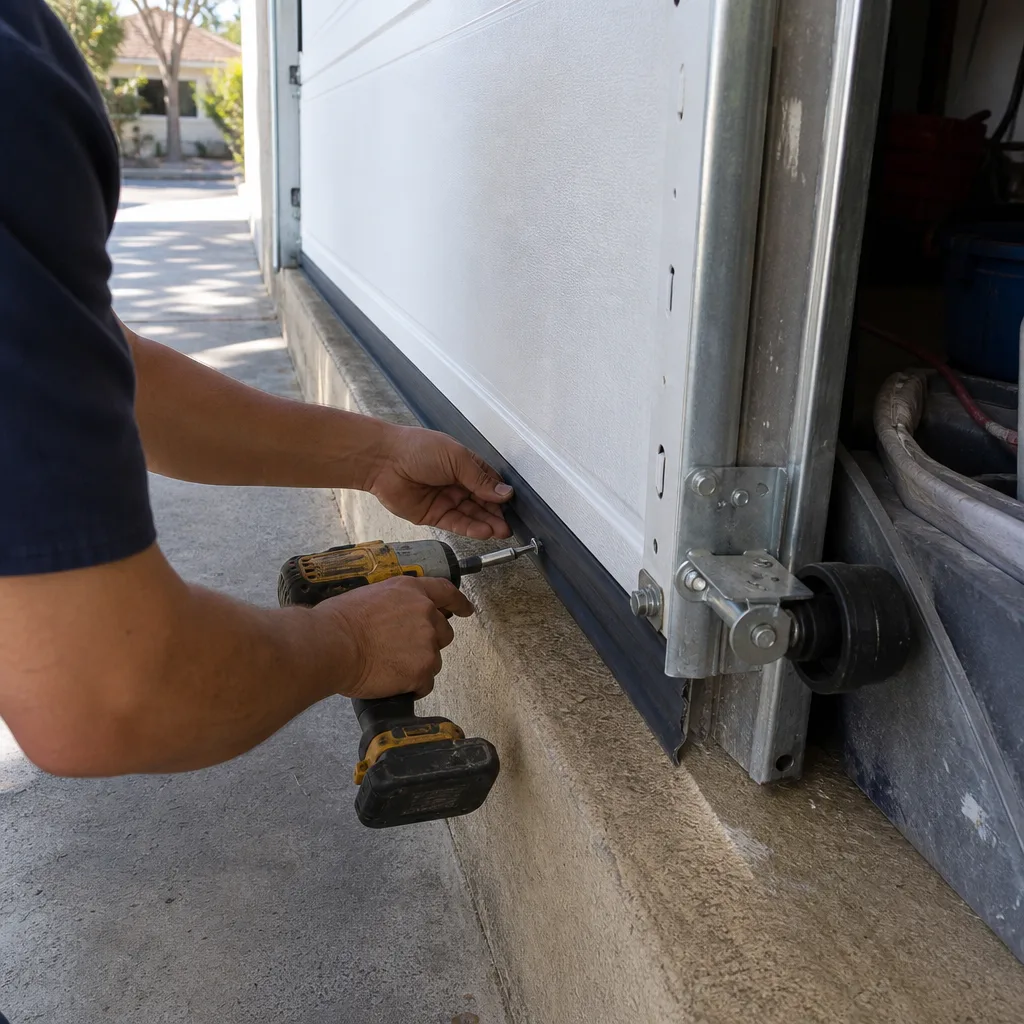
This page is for Pasadena homeowners who already own a LiftMaster opener and are installing a new door, replacing a worn one, or trying to figure out whether their current LiftMaster unit should stay or go. If you’re standing in the driveway with a door that won’t move and an opener that’s grinding, call (213) 816-2483. We answer live, 24/7.
How LiftMaster Products Fail - and How We Fix Them
LiftMaster builds solid openers. But after several thousand service calls across Pasadena, we know exactly where they wear and what that means for your door installation. Here’s what shows up at the jobsite:
- Security+ 2.0 logic boards losing their memory. The 8500W and 8550W series, common in Pasadena’s older garages with low headroom, use a wall console that stores limit settings. When the console’s coin battery dies, the opener forgets its limits and the door won’t close fully or reverses mid-cycle. Replacing the console fixes it - but if you’re already installing a new door, we address this during scope so you’re not resetting limits the first week.
- DC motor capacitor failure on the 8160W line. That mid-range belt-drive unit is popular in Bungalow Heaven and Madison Heights homes. When the capacitor goes, the motor hums but won’t turn the belt. It’s a $30 part on a $400 opener, but the labor to diagnose it is where the real cost sits. We show you the failed capacitor in the photo record before quoting the fix.
- Travel module drift on older Formula I units. LiftMaster’s 3280 and 3240 series, installed in the early 2010s throughout Pasadena’s ranch-style homes, drift out of limit over time. The door ends up slamming or stopping six inches short. Recalibration helps temporarily, but on a 15-year-old unit, the travel module is usually done. When we install a new door, we tell you straight: that opener will not reliably hold limits for the life of the new door. Here’s your replacement range, here’s what it costs to keep it. Your call.
- Trolley carriage bushing wear on LiftMaster chain drives. The 41A4885-2 rail assembly and its carriage ride on a bushing that flattens over time, especially in Pasadena garages that catch afternoon sun and push temperatures well past 100°F. A flattened bushing makes the chain slap and the door shake on the up-run. On a new door install, we check the rail before mounting the opener - a worn rail on a new door is a recipe for callbacks.
- Sensor misalignment from door re-hanging. This one matters for installation specifically: LiftMaster photo eyes are mounted to the track, and if the new door settles even 3/8 inch off level, the sensors cross. We see it constantly on new-builds in Northwest Pasadena where fresh concrete pads shift. We set the new door to the opener’s line with a laser, not a bubble level, so the beam holds after settlement.
Our LiftMaster Garage Door Installation Process
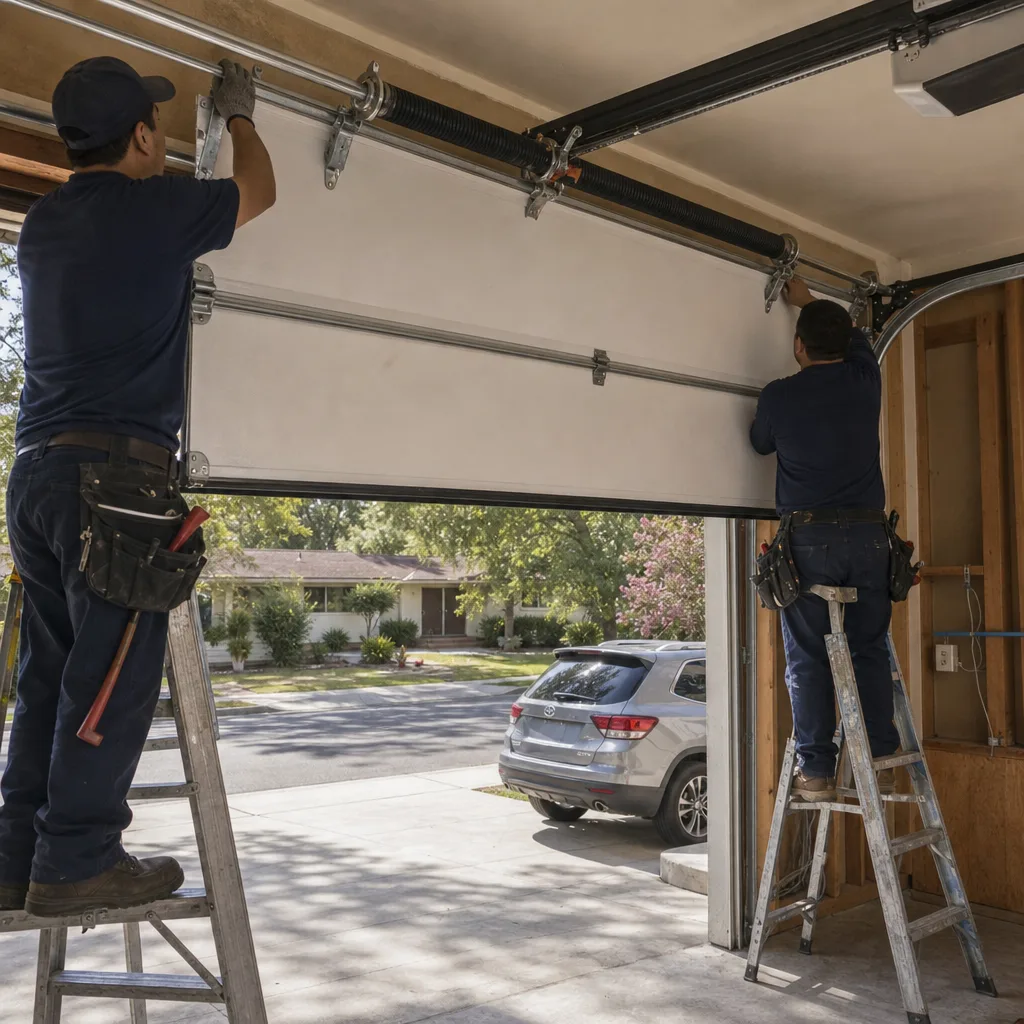
A LiftMaster garage door installation with Servo doesn’t start with a part number pulled from a catalog. It starts with a measurement and a conversation about what your door actually does. Here’s the sequence:
- 1
Site measure and opener assessment. We measure the opening, check headroom and side clearance, and test your existing LiftMaster opener. If the door is being replaced but the opener stays, we give that unit a real once-over before any door is ordered.
- 2
Flat written price and scope. You get a document listing the door, the opener, the labor, and any track or seal work. That number is fixed. If the job runs long or a bracket fights us, the price doesn’t move. Per Clause 1.
- 3
Parts decision session. OEM versus tested aftermarket. On a LiftMaster install, we default to OEM for logic boards and wall consoles; hardware like rollers, hinges, and springs gets the same scrutiny. You see the lead time and cost difference before we order.
- 4
Installation and wiring. Door hung, tracks aligned, opener mounted and paired. We wire the wall console, set the wireless keypad if you have one, and run the door through a full cycle test.
- 5
Limit and force calibration. LiftMaster’s DC motors need precise force settings or they’ll eat a spring or twist a panel. We set limits based on the door’s actual weight and travel distance, not factory defaults.
- 6
Photo record and walkthrough. Before we leave, you get photos of the installed components, the torque settings, and the finished job. That’s Clause 4 at work. You see the evidence.
BeforeAfterWhat LiftMaster Garage Door Installation Costs in Pasadena
We’re going to put the actual numbers here, because “call for a quote” doesn’t tell you anything, and Clause 1 says you deserve a real range before you pick up the phone. In Pasadena, here’s what LiftMaster door and opener work runs:
- New door installation: $700-$2,200 depending on size, material, and whether the opener is reused or replaced. Single-car steel doors fall at the lower end. Double-car custom wood doors run the higher end.
- Opener installation (new LiftMaster unit): $250-$550 including mounting, wiring, wall console, and programming.
- Opener replacement while keeping the existing door: $250-$450 for the opener plus labor. If the rail needs replacing, add $80-$150.
- Spring replacement on an existing door (LiftMaster-compatible): $180-$340. High-cycle springs can push the upper range.
- Track realignment during a door install: $120-$240 if the old tracks can be reused. New tracks are priced with the door.
What moves the price? Door width, headroom constraints, whether the old tracks can be reused, and whether you want a belt-drive or chain-drive opener. A wood door in a Bungalow Heaven Craftsman costs more than a steel panel door on a 1960s Altadena-adjacent rancher. That’s the honest answer. Call (213) 816-2483 for an exact written quote. Estimates are always free, and the number you see is the number you pay.
Why Pasadena Homeowners Call Servo Garage Doors Pasadena for LiftMaster Work
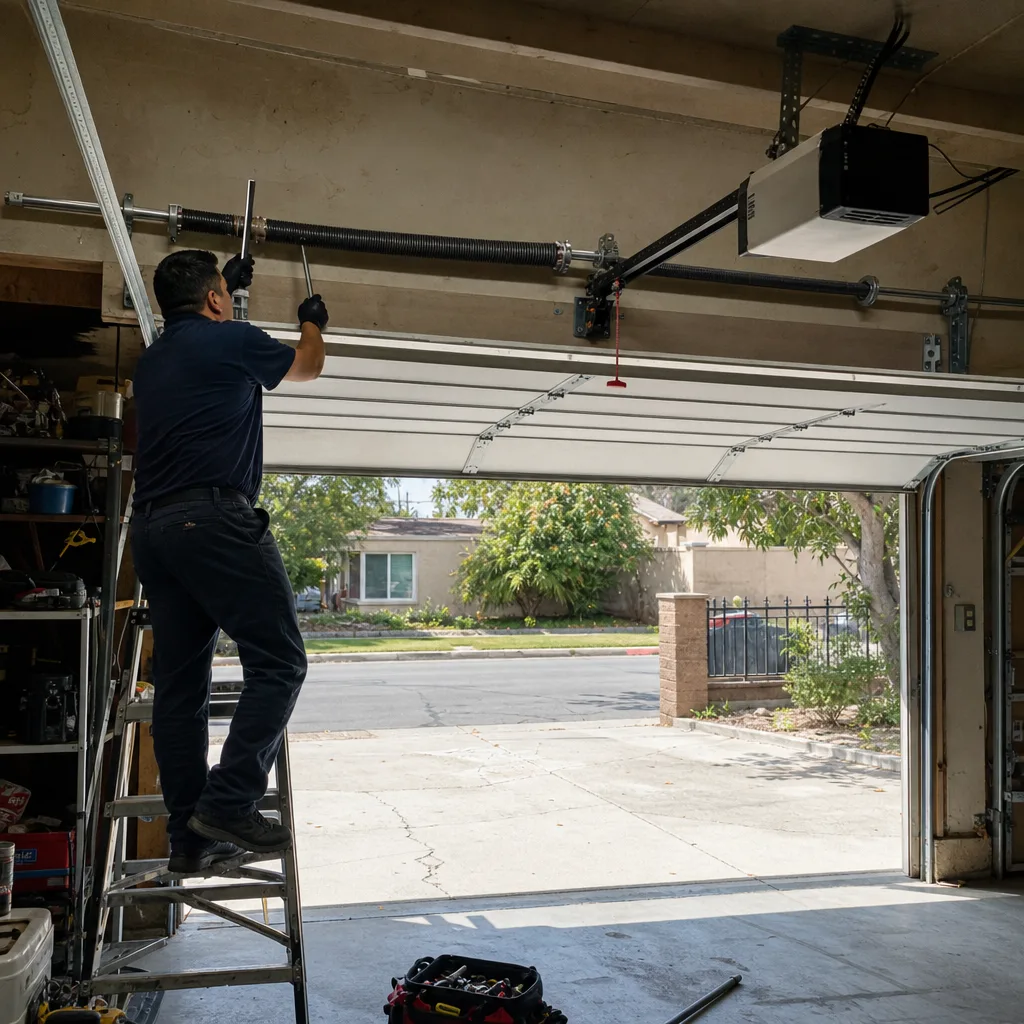
The 365-Day Done Right Promise means if something from our work isn’t right, we make it right. That’s written into our terms, not implied by a handshake. Every LiftMaster installation includes a documented photo record showing what we found, what we installed, and what we calibrated. Marcus Deller set that rule in place back when the company started: photograph the failed component before quoting a replacement. It keeps everyone honest, including us.
Our technicians are background-checked and uniformed, and our license number is on the work order, not buried in fine print. We service all major brands - LiftMaster, Chamberlain, Genie, Clopay, Amarr, Wayne Dalton, Craftsman, and Raynor - so if your LiftMaster opener pairs with a non-LiftMaster door, we’re not walking away or upselling you into a brand swap. Bring in a written estimate from any other Pasadena company and we’ll give you a free second opinion. No coupon, no card, no code.
FAQs
A new door installation does not void your LiftMaster opener warranty as long as the opener’s limits, force settings, and photo eyes are properly configured for the new door’s weight and travel. We handle that calibration in every install, and we document the settings in your photo record. If you have an extended warranty, we’ll flag anything that might conflict before we touch the unit.
In most cases, yes. If your Pasadena home has standard headroom and the existing wiring is intact, a single-car LiftMaster opener installation takes about two to three hours. We carry the most common LiftMaster models and wall consoles on the truck, so we can often complete the job the same day you call. Call (213) 816-2483 and we’ll give you a written price before we dispatch.
Both, and we’ll tell you which is which. For logic boards, wall consoles, and safety sensors, we use OEM LiftMaster parts. For hardware like rollers, hinges, and springs, we use either OEM or quality aftermarket parts, depending on what’s available and what’s appropriate for the door’s cycle count. The parts source is listed in your written scope.
A standard single-car door plus opener installation runs about four to six hours on site. Double-car or custom wood doors with trim work can stretch to a full day. We’ll give you an honest estimate in writing before we schedule, and if it’s a two-day job, you’ll know that before we start.
Opener limits set to factory defaults instead of the door’s actual weight. That causes the door to stop short, slam, or reverse unexpectedly. We set the limits and force based on the door’s real weight and travel, and we document the settings in your photo record. It’s a calibration issue, not a brand issue - though LiftMaster’s DC motors are less forgiving of sloppy setup than older AC units.
Written by Marcus Deller, Owner, Servo Garage Doors Pasadena at Servo Garage Doors Pasadena, serving Pasadena and nearby areas.