
Last updated September 20, 2026
Full 25-point door and opener safety check with every visit - springs, cables, rollers, tracks, and your LiftMaster or Chamberlain opener included
You get a price before we start. It does not change when the truck arrives.
 Before
 After
After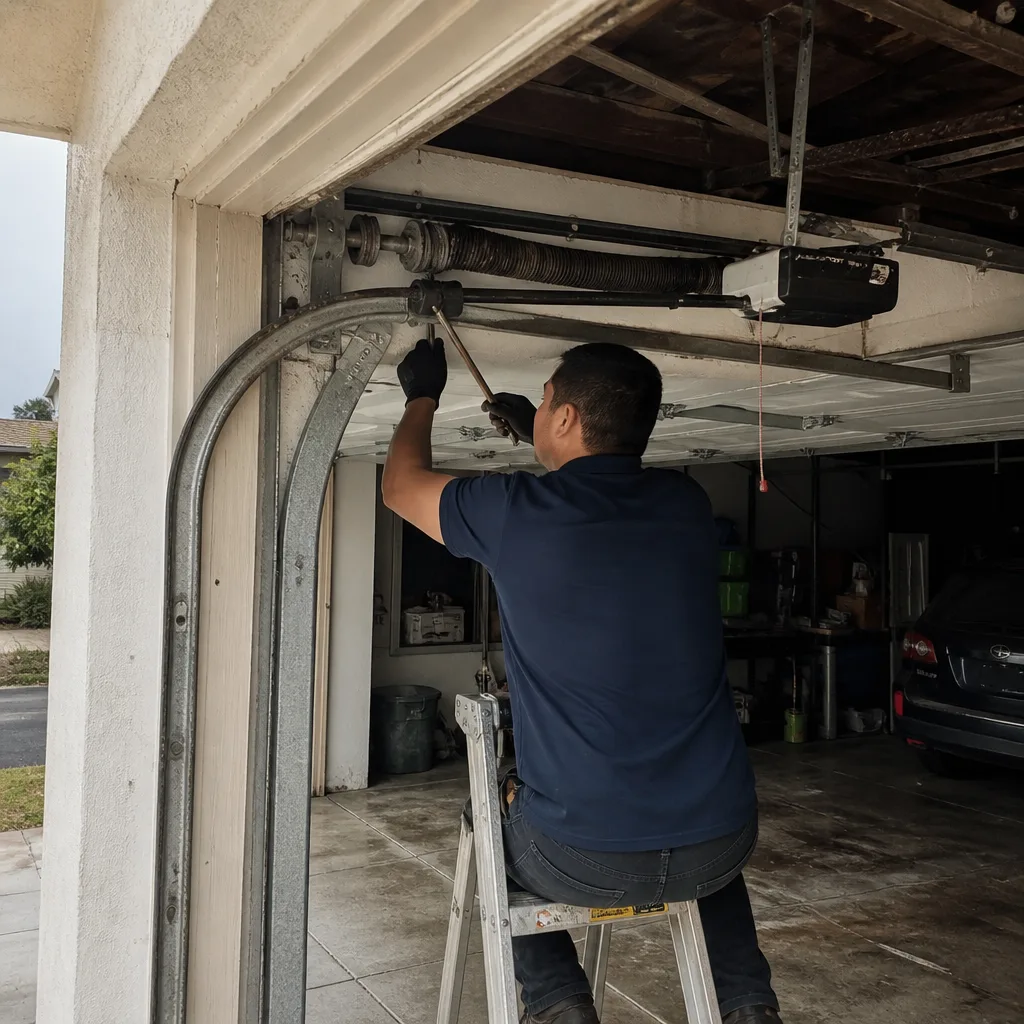 Before
 After
After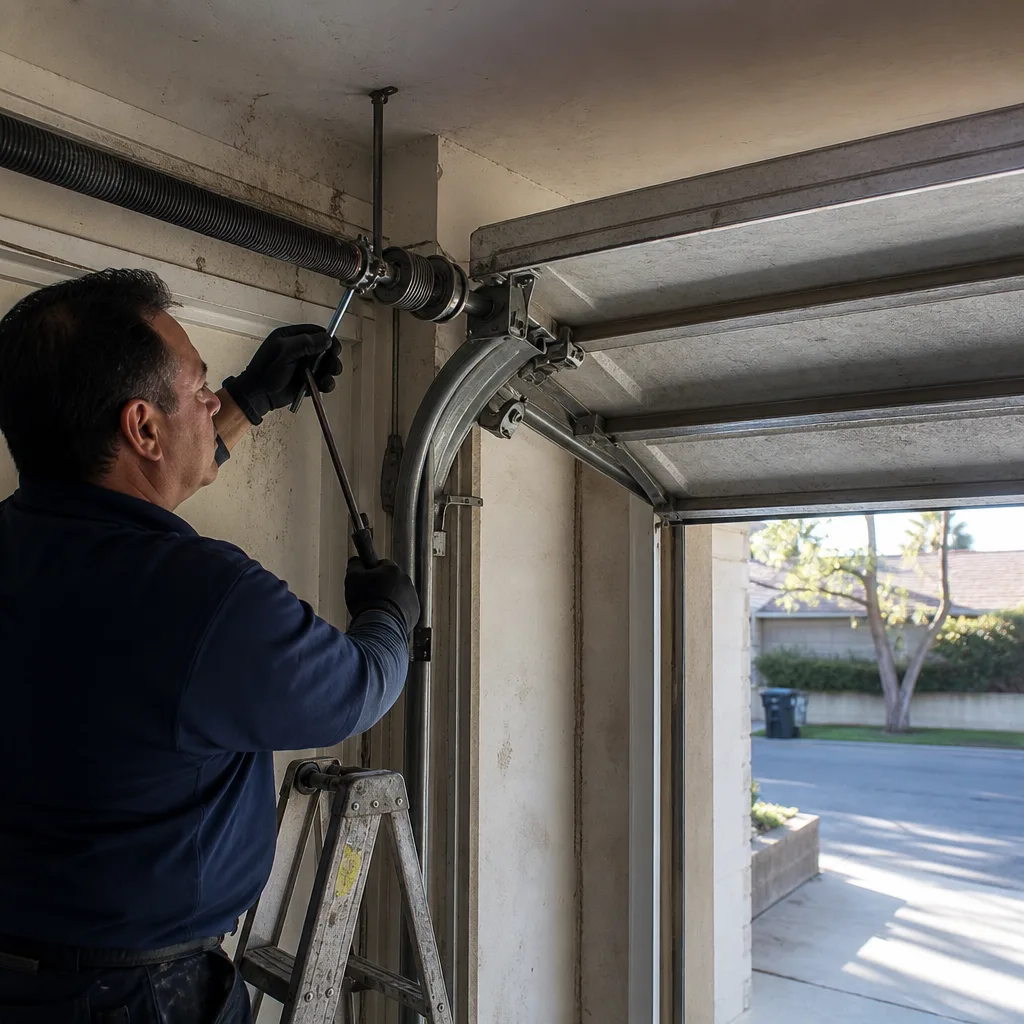 Before
 After
AfterGarage Door Repair Maintenance Checklist for Pasadena Homeowners
Ninety percent of published garage door checklists tell you to lubricate the springs. Almost none tell you what lubricant, how much, or what a failing spring actually looks like when you’re standing under it with the can in your hand. That’s the gap this guide closes. If you live in Pasadena, your garage door cycles somewhere between 800 and 1,500 times a year, and every one of those cycles wears something measurable. The checklist below gives you the pass/fail threshold for each component, the Pasadena-specific timing that matters most, and the documentation method that turns a vague worry into a dated baseline you can verify against later. We’ve been providing our Garage Door Repair services in Pasadena since 2015, and the homeowners who catch problems early are almost always the ones who knew what a measurement meant, not just that they should take one.
Quick Answer
A garage door maintenance checklist for Pasadena homeowners should cover 12 specific checks: spring condition, cable wear, door balance, roller condition, hinge tightness, track alignment, weatherseal integrity, opener force settings, sensor alignment, lubrication, noise diagnosis, and documented photo records. Run the full checklist twice a year, once in late September before the October temperature drop that stresses torsion springs in this climate zone, and once in March after winter moisture. Most checks cost nothing but time; the ones that need parts have clear dollar ranges: weatherseal replacement runs $80 to $160, roller replacement $90 to $180, and a professional spring replacement in Pasadena runs $180 to $340 per spring. If you do one thing from this guide, make it the manual balance test, because it tells you whether every other component is working together.
Table of Contents
- The Manual Balance Test: How to Read What Your Door Tells You
- Spring Inspection: The Pasadena October Problem
- Cable Check: What 1/8 Inch of Travel Deviation Means
- Rollers, Hinges, and Track: Tolerance Specs That Matter
- Weatherseal: The Gap Size That Triggers Replacement
- Opener Force and Sensor Settings: What to Test and Why
- Lubrication by Component: What to Use Where, and What to Avoid
- Documenting Your Own Maintenance: The Dated Photo Record
- The Pasadena Maintenance Schedule
- Common Mistakes to Avoid
- When to Call a Professional
- Frequently Asked Questions
BeforeAfterThe Manual Balance Test: How to Read What Your Door Tells You
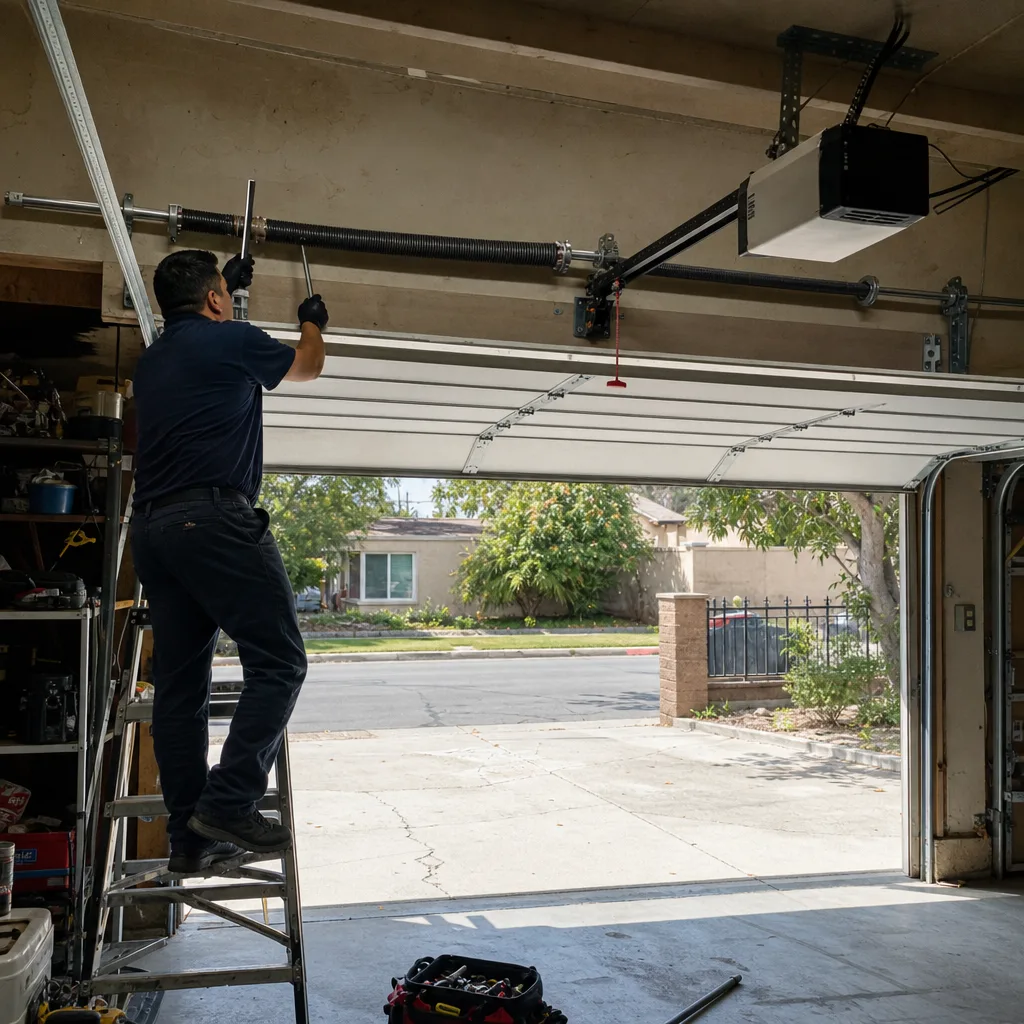
The single most useful diagnostic you can perform on a garage door takes 30 seconds and requires zero tools. Here’s the procedure. Pull the red emergency release cord while the door is closed, which disconnects the door from the opener, so you’re lifting the door’s full weight by hand. Lift the door to waist height, roughly 3 feet off the ground, and let go. The door should stay put, or drift an inch or two at most. If it holds, the springs are doing their job. If it rises, the springs carry too much tension for the door’s weight, which means a previous repair was over-wound, or the door is lighter than the spring rating assumes. If it drops, the springs have lost tension, and that’s a sign of metal fatigue in the coil itself, not a random adjustment issue. In our experience across Pasadena, a door that drops in the balance test has a torsion spring near the end of its cycle life roughly 80 percent of the time. The balance test is the pass/fail gate for everything else on this list, because a door with healthy springs makes every other component last longer. Perform this test once a month. It takes 30 seconds and it tells you more than an hour of visual inspection ever could.
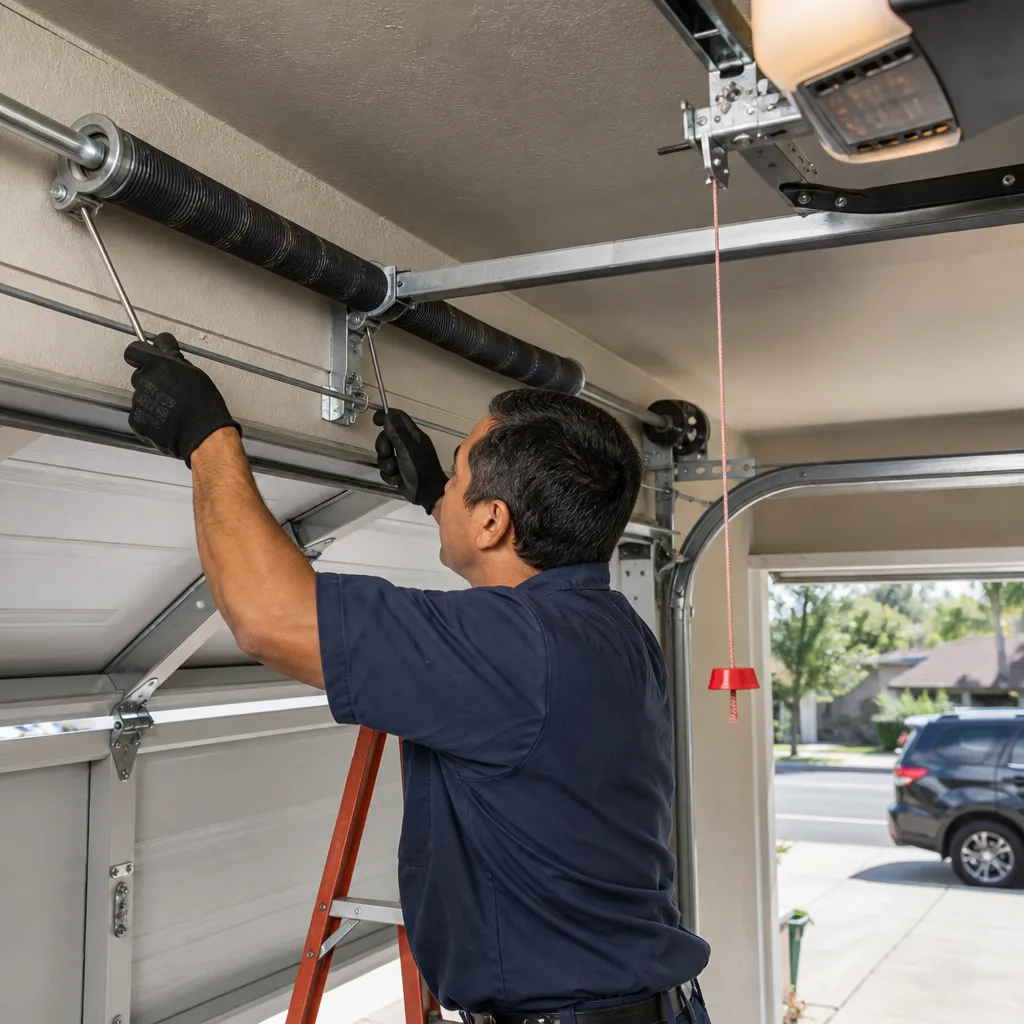
One safety note before we go further: torsion springs, the coils mounted horizontally above the closed door, hold enough stored energy to cause serious injury if they fail while you’re near them. The balance test is safe because you’re not touching the spring itself. But if you see a visible gap in a coil, do not stand under the spring and do not attempt to adjust it. A spring with a split coil is a job for a professional with the right winding bars and the right respect for the part. That’s not a disclaimer. It’s the same advice we give on every service call where a homeowner asks whether they can save money doing it themselves. On springs, the answer is no, and the reason is the stored energy, not the difficulty.
Spring Inspection: The Pasadena October Problem
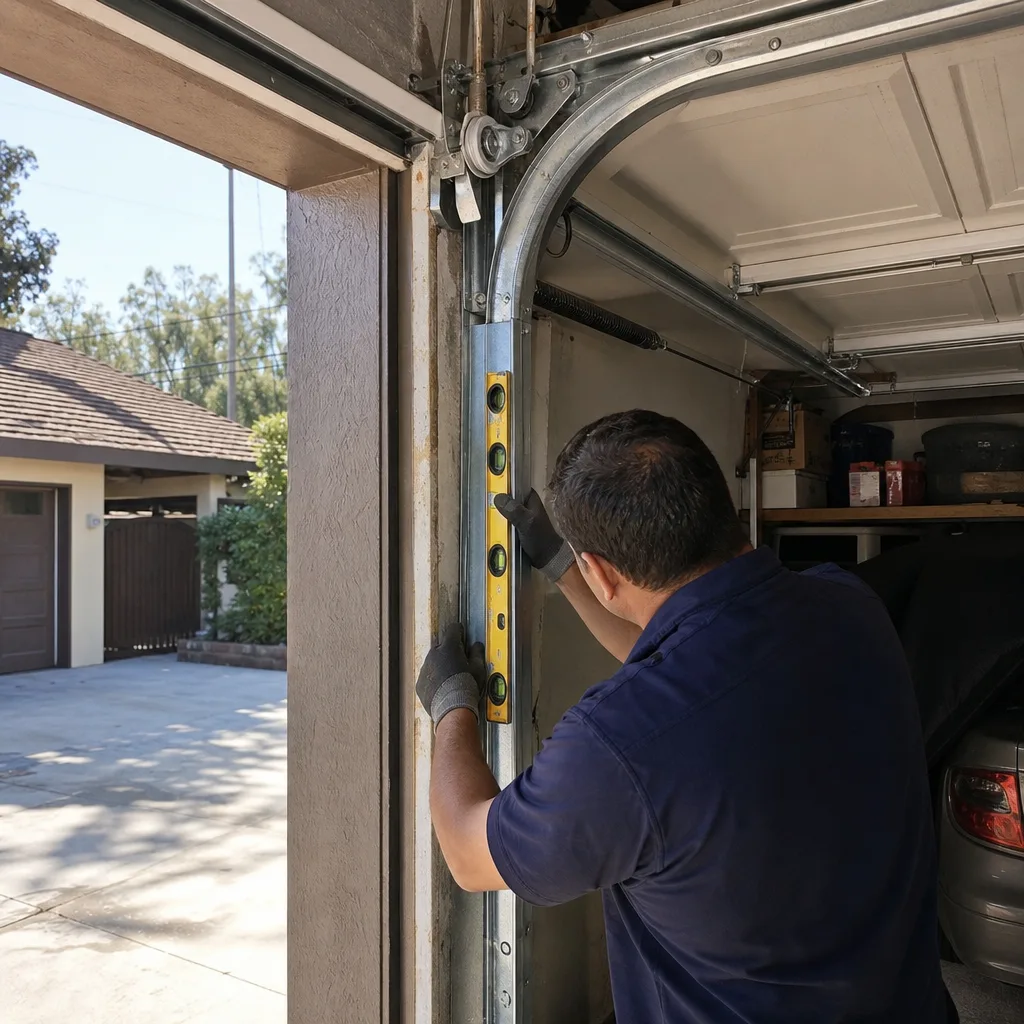
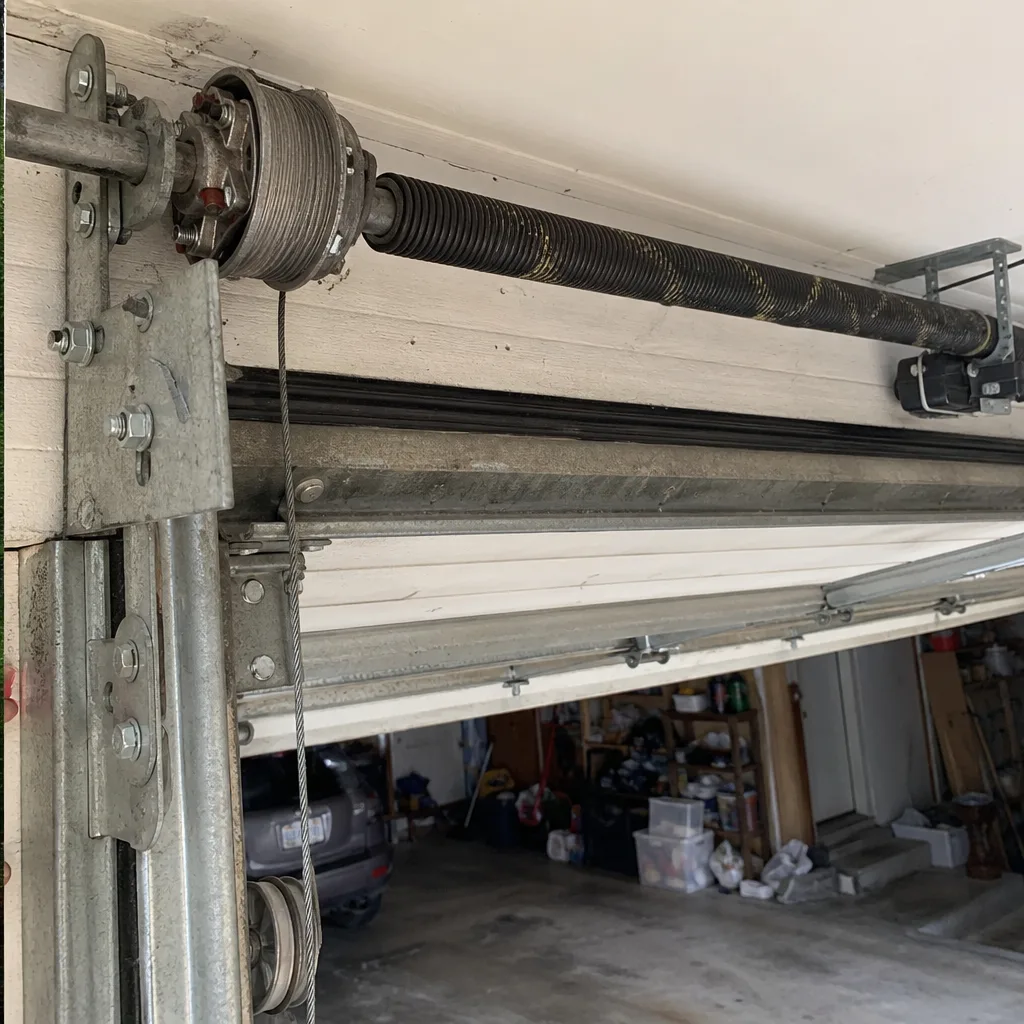
Here’s a fact about Pasadena that most garage door guides won’t tell you: the highest-risk period for torsion spring fracture in this climate zone is late October through November. The reason is temperature swing. Torsion springs are made of oil-tempered steel wire, and that wire expands and contracts with ambient temperature. When Pasadena moves from 85-degree afternoons to 48-degree nights over the course of 72 hours, the spring metal experiences thermal contraction stress. A spring that’s been cycling for seven or eight years, roughly 7,000 to 10,000 cycles, is already carrying micro-fractures from repeated flexing. The October temperature drop is often the event that turns those micro-fractures into a clean break. We see the spike in service calls every year: the third week of October is reliably the busiest week for spring failures in Pasadena.
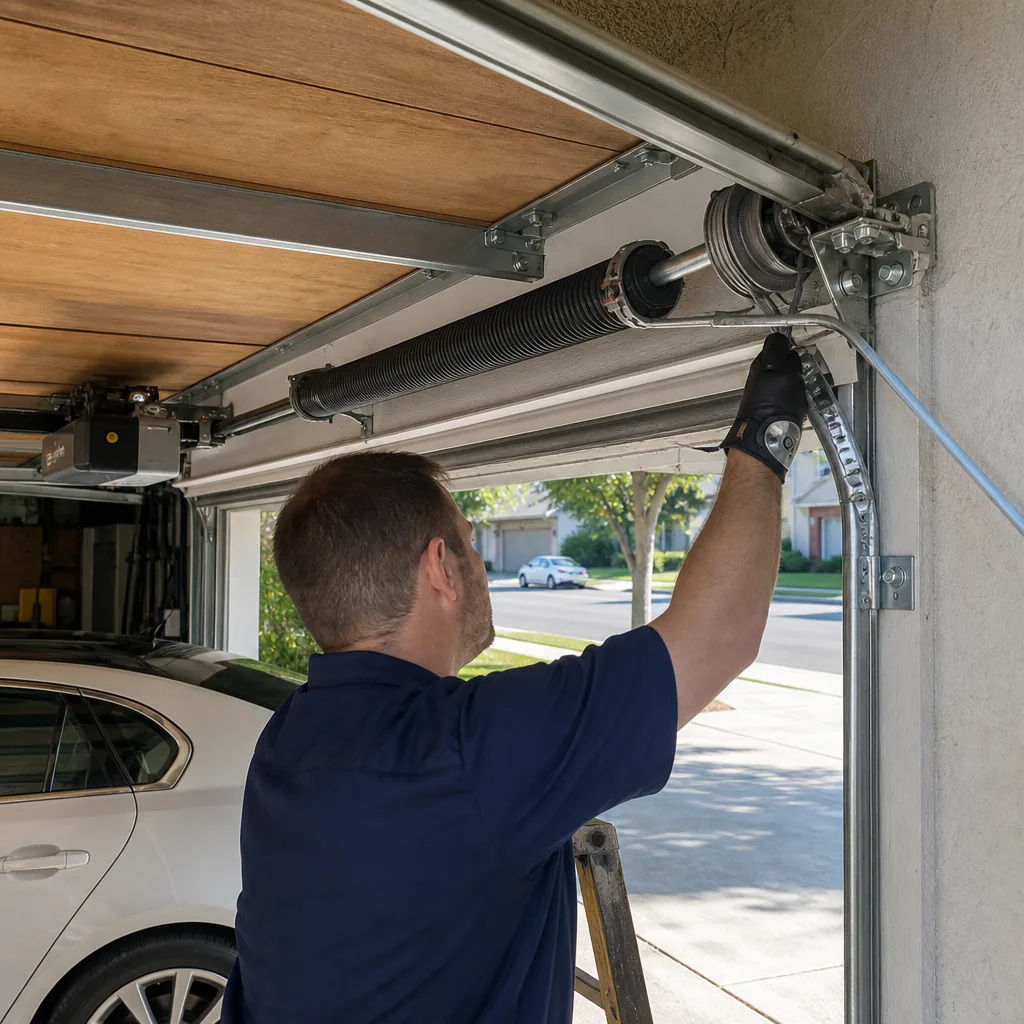
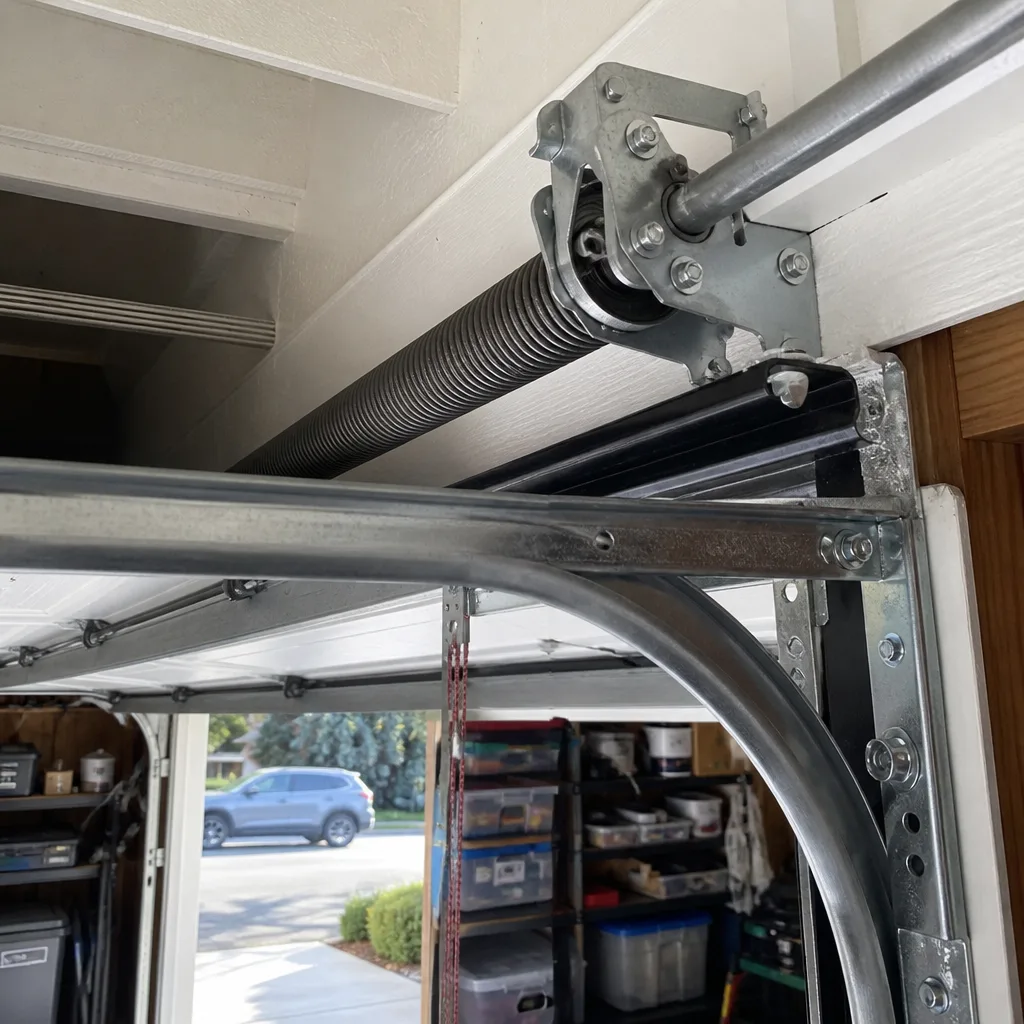
What does a failing spring look like before it breaks? Three visual indicators. First, look at the coil spacing. A healthy torsion spring has evenly spaced coils with no gaps. A gap in the coil, even a small one, means the spring has already fractured and is no longer under proper tension. If you see a gap, do not operate the door and do not stand under the spring. Second, check for rust. Surface rust on a spring is cosmetic, but pitting rust, where the surface looks rough or flaked, means the wire diameter is compromised and the spring life is shortened. Third, check for wear marks where the spring rubs against the center bracket or the drums at either end. Bright metal showing through the coating indicates friction that’s wearing the spring unevenly. If you see a gap or pitting rust, budget for professional spring replacement: in Pasadena, a single torsion spring replacement runs $180 to $340 installed, and most doors have two springs, so plan accordingly. A spring that shows even coil spacing, no gaps, and no pitting passes inspection.
Cable Check: What 1/8 Inch of Travel Deviation Means
Garage door cables live on both sides of the door, running from the bottom brackets up to the drums above. Their job is to keep the door level as it travels. The most useful cable diagnostic is a travel deviation measurement: open the door fully and look at the horizontal top edge, or close it and look at the bottom edge, against a level reference. A door that’s off-level by more than 1/8 of an inch across its width is telling you something about the cables. One cable has stretched, or one drum is slipping, or one side of the door is carrying more weight than the other.
Here’s how to check cables properly. Run the door to the halfway point and stop it. Look at both cables where they wrap around the drums above the door. They should be seated in the drum grooves with no overlap, no fraying, and no visible slack. Look for three specific things. First, fraying: individual wire strands poking out from the cable body mean the cable is past its service life. A frayed cable can snap without warning, and a snapped cable under tension whips. Second, slack: if one cable has visible sag while the door is mid-travel, that side is no longer carrying its share, and the door is twisting slightly on every cycle. Third, rust at the bottom bracket: the lowest 6 inches of cable sits near the ground and catches moisture, and Pasadena’s winter morning dew is enough to cause corrosion where the cable meets the bottom bracket. If you see fraying or slack, call a professional. A cable that’s clean, seated properly, and matches the other side in tension passes inspection. One more note: cables should never be removed or adjusted while the springs are under tension. The cable and the spring work as a single system, and touching one without properly releasing the other is dangerous.
Rollers, Hinges, and Track: Tolerance Specs That Matter
Rollers are the small wheels that carry the door up and down the vertical and horizontal track. They wear on a schedule, and the failure mode is almost always noise before it’s visible wear. Here’s the pass/fail framework. Rollers with ball bearings should spin freely when you rotate them by hand. Rollers without bearings, typically steel or nylon rollers on older doors, just slide, and the test is whether they’re round and whether the stem is centered. A roller that’s flattened on one side, cracked, or wobbling on its stem has failed. The symptom you’ll notice first is a grinding or scraping sound when the door moves. In Pasadena, where fine dust from the foothills settles on every horizontal surface, that dust works its way into the roller bearings and accelerates wear. If you replace rollers, replace all of them at once, not just the one that’s noisy, because mixed roller wear causes uneven track wear. A full set of nylon-bearing rollers in Pasadena runs $90 to $180 installed. A roller that spins true and quiet passes inspection.
Hinges are the flat metal plates that connect the door panels. The test is straightforward: every hinge bolt should be tight, and no hinge should show a crack running from a bolt hole. Loose hinge bolts cause the door to flex slightly on each cycle, and that flex transfers stress to the panel itself. Cracked panels are far more expensive than hinge replacement, so checking hinge bolts is the cheapest insurance on this list. Run an eye down each hinge line, and tighten any bolt that’s backed out with a socket wrench. If a hinge has hairline cracking, replace it before it fails.
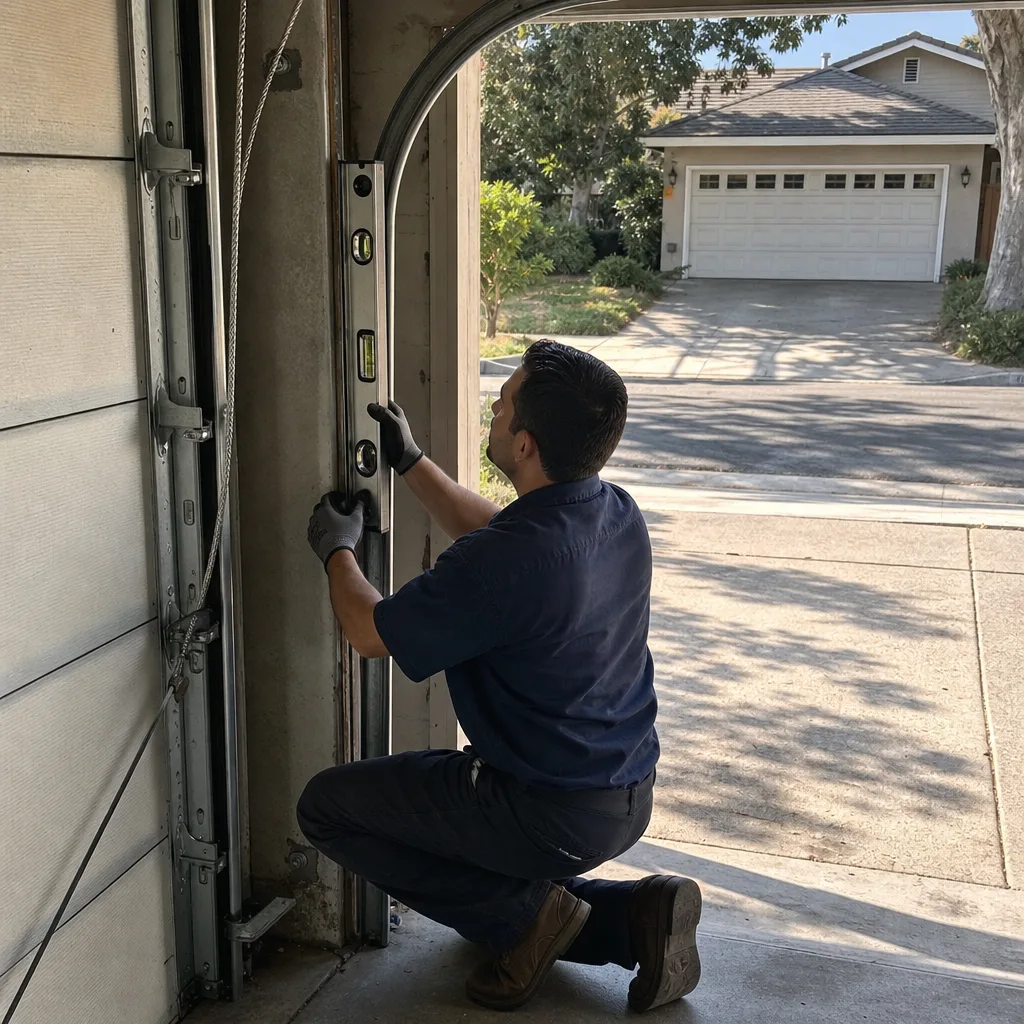
Track alignment is the last check in this section. The vertical tracks on both sides of the door should be parallel and plumb, which means perfectly vertical when checked against a level. The horizontal tracks above the door should angle slightly upward away from the opening, which is by design: the upward angle keeps the door from rolling back once it’s open. What fails is the bracket that holds the track to the wall or ceiling: look for bolts that have pulled loose from the framing, or brackets that have bent under repeated load. A track that’s out of alignment by more than 1/4 inch causes the rollers to bind, and the door starts to chatter on the way up or down. If you catch the chatter early, it’s often just a loose bracket. If you ignore it, the rollers wear unevenly and the track itself can warp. Track replacement runs $250 to $500 in Pasadena, which is more than most homeowners expect, so the check is worth doing.
Weatherseal: The Gap Size That Triggers Replacement
The weatherseal is the rubber strip along the bottom of the door and the flexible trim along the sides and top. Its job in Pasadena is more about dust and insects than cold: the Santa Ana winds push fine particulate matter against the bottom seal, and a compromised seal lets that dust into the garage and the home. Here’s the replacement trigger. If you can see daylight under the closed door, or if a piece of paper slides freely under the seal, the bottom seal is due for replacement. The gap that matters is 1/8 inch or more: anything under that is acceptable, and anything over it means the seal is no longer sealing. Look also for cracking along the seal’s length, and for the ends of the seal pulling away from the door edge, which happens when the aluminum retainer channel that holds the seal gets bent by impact.
Here’s the nuance most checklists miss: the bottom seal can look fine from the outside and still fail the paper test, because the wear is often on the underside where the seal contacts the concrete. Flip the seal up and run your fingers along the bottom edge. If it feels flattened, hardened, or cracked, the material has aged out. In Pasadena, where summer garage temperatures can exceed 110 degrees, rubber seals degrade faster than they do in cooler climates. You’ll typically get 3 to 5 years from a quality seal. Replacement in Pasadena runs $80 to $160 for the bottom seal, and it’s a job that takes a technician about 30 minutes. Side and top seals run another $60 to $120. The check is simple: run the paper test, flip the seal, and replace it when you see daylight, cracking, or hardening.
Opener Force and Sensor Settings: What to Test and Why
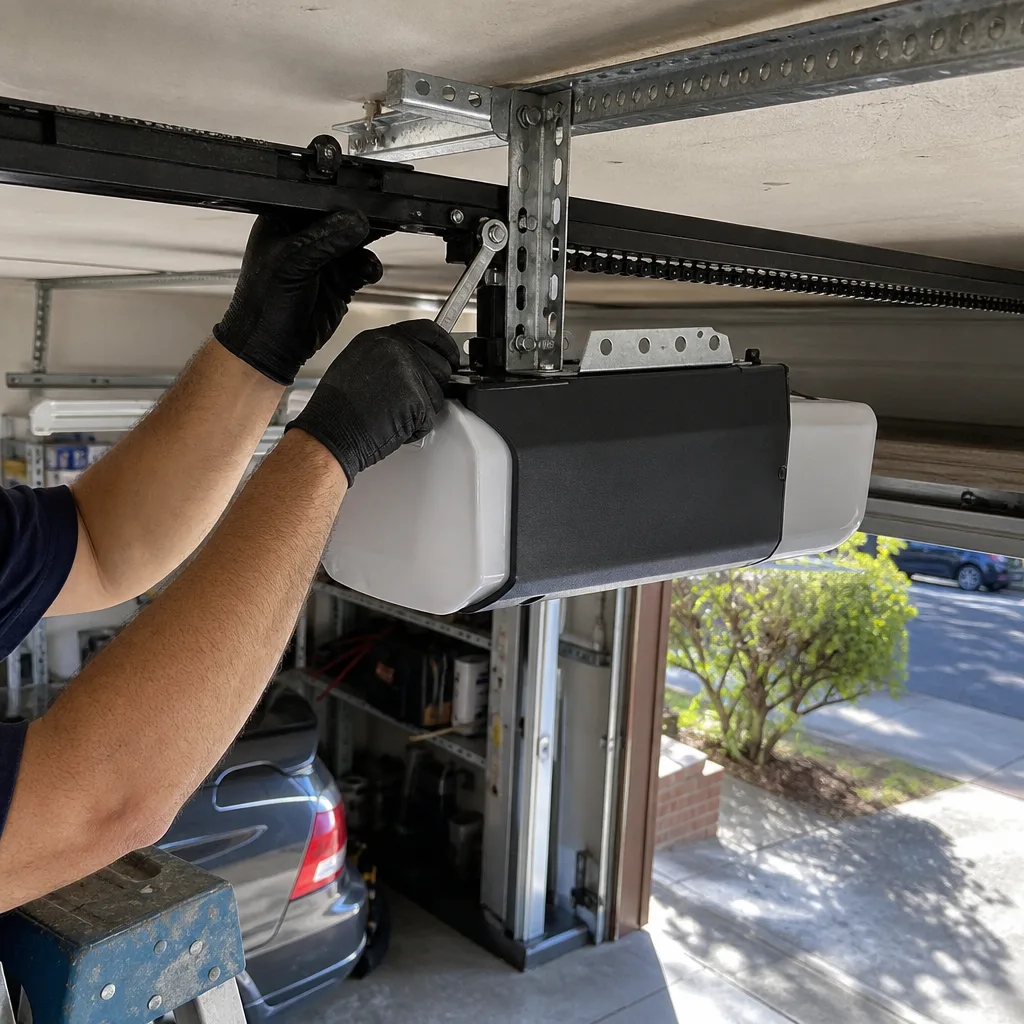
Your garage door opener has safety systems that should be tested twice a year, and almost no one tests them. The two tests matter for different reasons. The auto-reverse force test confirms that the opener will reverse direction if the door hits an obstruction while closing. The photo eye test confirms that the invisible beam across the door opening is working, so the door won’t close on a child, a pet, or a parked car. Both tests take about 60 seconds combined, and both protect people, not just the door.
Force reversal test: place a 2×4 piece of wood flat on the floor in the door’s path, then close the door. The door should hit the wood and reverse within two seconds of contact. If it doesn’t reverse, the force setting is too high, and the opener is pressing down hard enough to injure someone. Most openers have a force adjustment screw on the motor unit, and turning it down slightly will fix the issue. If the door reverses when it shouldn’t, the force setting is too low, and the door won’t close properly. A door that reverses on its own mid-close is usually fighting a balance problem, not a force-setting problem, which ties back to the balance test.
Photo eye test: with the door open, start closing it and wave your hand through the beam between the two sensors mounted about 6 inches off the floor on either side of the door. The door should stop and reverse immediately. If it doesn’t, check that the sensors are aligned: each sensor has a small light, and both lights should be solid. If one is blinking, the sensors are out of alignment or something is blocking the lens. In Pasadena, the culprit is often a spider web across the lens or dust from the foothills settling on the glass. Clean the lens with a dry cloth and realign the sensor until the light goes solid. If the sensors are aligned and clean but the door still won’t reverse on obstruction, the sensors need replacement. The photo eye is a required safety device under federal law since 1993, and a door that operates without it is both unsafe and non-compliant with the same code standard that applies across Pasadena.
If you need help with opener settings, our page on Garage Door Opener Repair & Installation in Pasadena covers the full range of opener diagnostics and replacement.
Lubrication by Component: What to Use Where, and What to Avoid
Here’s the part where most checklists fail, and the failure matters because the wrong lubricant in the wrong place actively shortens component life. The correct answer for springs, hinges, and rollers is a lithium-based garage door spray lubricant, sold at any hardware store for $8 to $14 a can. That’s it. Not WD-40, not motor oil, not silicone spray, not graphite. WD-40 is a solvent, not a lubricant, and it strips the protective film from the spring and leaves the metal exposed. Motor oil is heavy and attracts dust. In Pasadena, where the air carries fine particulate from the foothills and from the freeway corridors, anything that leaves a wet residue becomes a dirt magnet within a week. Dirt in a roller bearing or hinge pin is what turns a lubricated part into an abrasive surface.
Here’s the component-by-component spec. Springs: spray a light, even coat along the full length of each spring. You’re lubricating the coils so they slide against each other as the spring winds and unwinds, not soaking the part. If lubricant drips onto the floor, you’ve used too much. Hinges: one short spray at each hinge pin, top and bottom, while the door is closed. Wipe any excess with a rag. Rollers: if you have metal rollers with exposed ball bearings, a short spray at each bearing is fine. If you have nylon rollers, the bearings are sealed, and spraying them does nothing useful; skip the rollers and just make sure they spin freely. Track: do not lubricate the track. The vertical and horizontal tracks are guides, not bearing surfaces, and lubricant on the track just collects dust and creates a slurry that works against the rollers. If your door is noisy and someone told you to grease the track, that advice was wrong. The noise is coming from the rollers or hinges, not the track.
Lubricate springs and hinges twice a year, at the same time you run the full checklist. The October pass matters most: lubricated springs move more freely as the temperature drops, and that small reduction in friction is one factor in how smoothly a marginal spring survives the fall.
Documenting Your Own Maintenance: The Dated Photo Record
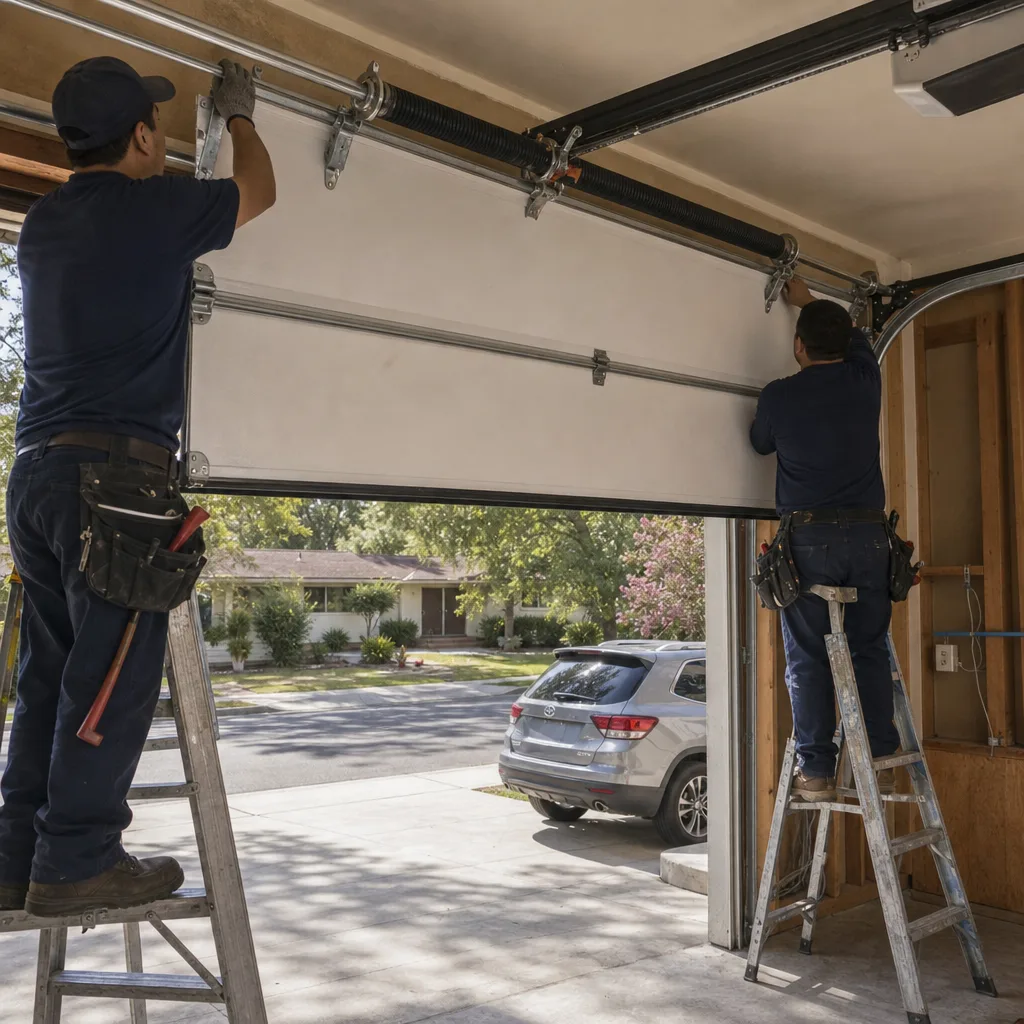
This section is the part of the checklist that changes how you handle repairs for the rest of the time you own the home. The idea is simple: take dated photos of your garage door components every time you run the maintenance checklist, and store them in a folder on your phone or computer. When a repair quote comes later, you have a baseline. You can look at the photo from six months ago and verify whether the crack, rust spot, or wear pattern the technician is pointing at actually existed then, or whether it’s new. That’s the difference between accepting a quote on faith and verifying it against evidence.
Here’s the shortlist of photos to take each session. Springs: one close shot of each spring from the side, showing coil spacing, and one from a step back showing both springs and the center bracket. Cables: one shot of each cable at the bottom bracket and one at the drum above. Rollers and hinges: one shot per side showing the rollers in track and the hinge line. Weatherseal: one shot of the bottom seal from the inside with the door closed, so you can see whether it’s compressed evenly. Opener: one shot of the motor unit and the rail, and one of the sensor eyes. That’s 10 photos, roughly 60 seconds of work per session.
The reason this matters in practice: when a technician tells you a spring is showing a gap or a cable is frayed, you have a dated record showing what that component looked like at the previous check. This is the same principle we built our company around in 2015. Clause 4 of The Haven Standard, the founding rule at Servo Garage Doors Pasadena, requires that the technician photograph the failed component before quoting a replacement. The customer sees the evidence before they see the price. When you document your own maintenance the same way, you’re holding every future contractor to the same standard, whether it’s us or someone else. The baseline photo record is the cheapest negotiation tool in homeownership.
We cover this documentation approach in detail on our Garage Door Repair in Pasadena page, where the photo-record policy is explained from the customer’s side of the process.
The Pasadena Maintenance Schedule
Here’s the full schedule in one place, timed specifically for Pasadena’s climate patterns rather than a generic calendar. Put these dates in your phone as recurring reminders.
- Late September (before the October temperature drop): Full inspection pass. Run the balance test, inspect springs for gaps and pitting, check both cables for fraying, inspect rollers and hinges, run the weatherseal paper test, test both opener safety systems. Lubricate springs and hinges. Take your dated photo set. This is the most important maintenance session of the year for Pasadena homes, because it happens before the highest-risk fracture period.
- Late March (after the winter moisture period): Full inspection pass, same as September. The March pass catches corrosion from the winter dew cycle and any wear that accumulated over the colder months. Lubricate springs and hinges again.
- Monthly: Balance test only, once a month, 30 seconds. This is your early-warning system. A door that passes the balance test in July and fails in August is telling you something changed.
- Weekly visual: 10 seconds. When you park the car and walk into the house, glance at the door. Do the rollers look seated? Does the bottom seal sit even on the concrete? Is the door level when it’s partway up? You already walk past the door twice a day; the only change is noticing what you’re looking at.
- After any repair: Run the full checklist. A repair that changes spring tension, track alignment, or opener settings affects every other component on the system. The post-repair check gives you a known good baseline for the next maintenance cycle.
If you’d rather not run the checklist yourself, the alternative is a professional annual inspection. We perform full 12-point inspections for Pasadena homeowners at no charge as part of a free estimate. But the 30-second monthly balance test is something worth doing yourself, even if you never open the garage door panel for any other reason.
Common Mistakes to Avoid
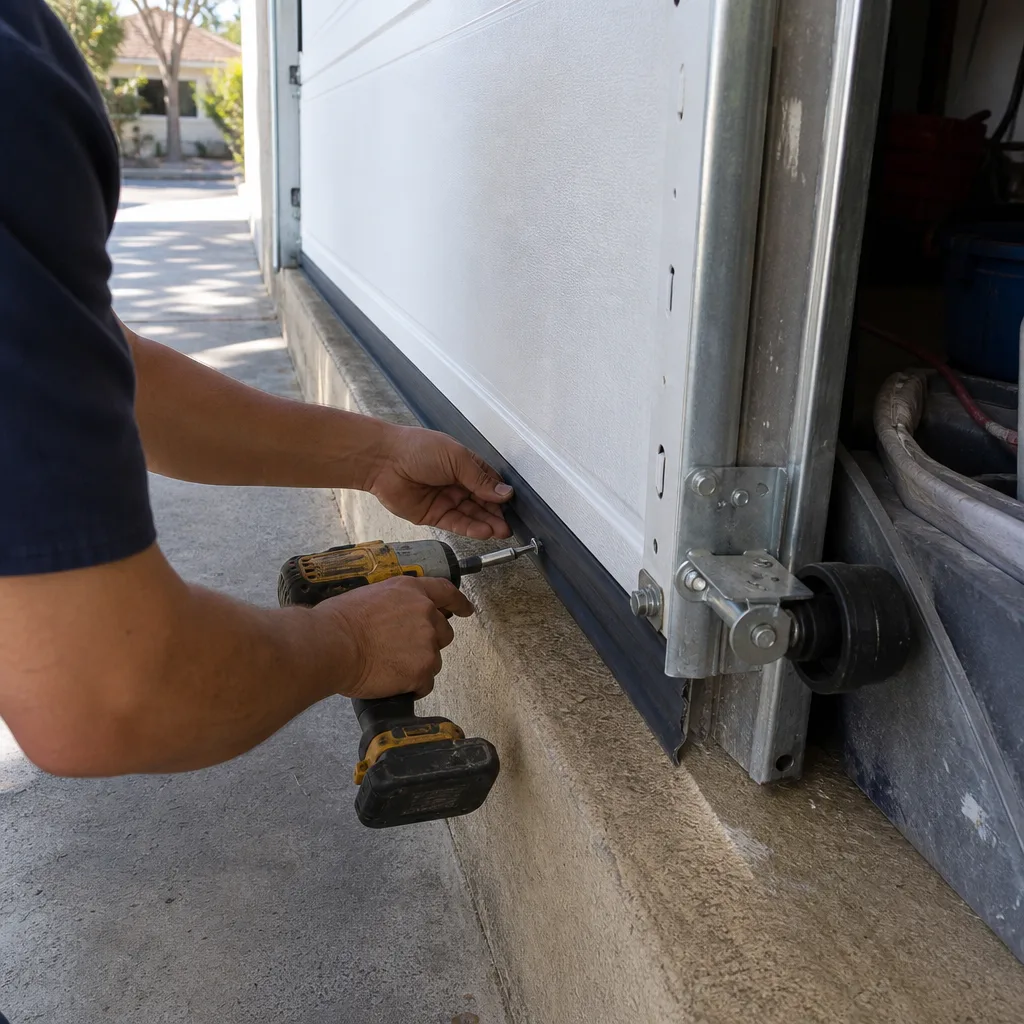
- Lubricating the track. This is the most common mistake we see in Pasadena garages, and it’s actively harmful. Track lubricant collects dust from the foothills, creates a gritty paste, and accelerates roller wear. The track is a guide, not a bearing surface.
- Using WD-40 on springs. WD-40 is a solvent. It removes the existing protective coating and leaves the spring metal exposed to moisture. In Pasadena’s fall temperature swings, a spring stripped of its coating is more vulnerable to the same thermal stress that causes fractures. Use lithium-based garage door spray instead.
- Ignoring a noisy door. A grinding or scraping sound is not an annoyance; it’s data. The noise is usually a failing roller bearing or a worn hinge, and both are cheaper to fix before they fail than after. A door that’s been noisy for six months has already done damage to the parts around the noisy one.
- Skipping the balance test because the door “seems fine.” A door can operate for months on a failing spring, because the opener is doing the extra work. The opener motor is the most expensive component to replace on the whole system, after the door itself. The balance test tells you when the springs are fading, before the strain lands on the motor.
- Replacing one spring when both are the same age. Torsion springs are installed in pairs, and both springs fatigue at the same rate. A door with one new spring and one old spring is unbalanced, and the new spring wears faster trying to compensate. When one breaks, replace both, and know that a pair of torsion springs in Pasadena runs $280 to $560 installed.
- Waiting until the weatherseal gap is visible from the outside. The paper test exists because the gap is invisible until it’s already too big. A seal that’s compressed but cracked is already failing. Six months of Santa Ana dust through a compromised seal means a fine layer of grit over everything in the garage, including the door’s own roller bearings.
- Adjusting spring tension as a DIY project. This is the mistake that puts people in the emergency room. Torsion springs run at 50 to 80 inch-pounds of stored torque, and the correct tool is a pair of steel winding bars, not a socket wrench. There’s no version of this job that’s worth doing without training. Call a professional.
When to Call a Professional
Some maintenance findings call for parts and labor rather than an entry in your photo log. Call a professional if you see a gap in a torsion spring coil; if a lift cable shows fraying or slack; if the door fails the balance test badly enough that it drops fast when you release it; if the opener reverses on its own mid-cycle repeatedly; or if you hear a bang from the garage, which is the sound a cable or spring makes when it lets go. None of these are observation items. They’re repair items, and the parts involved are under enough stored energy to make the wrong move dangerous.
Servo Garage Doors Pasadena offers free estimates in Pasadena, with a flat written price and written scope delivered before any work begins. If you call (213) 816-2483, a live person answers, and we’ll schedule the appointment with a named technician, not a callback window. If you already have a written estimate from another company, bring it: we’ll review it and provide a free second opinion, and the comparison is usually illuminating.
Frequently Asked Questions
Twice a year: once in late September before the fall temperature drop, and once in late March after the winter moisture period. Use a lithium-based garage door spray on springs and hinges only. Do not lubricate the track. If you’d like us to handle it, we offer free estimates that include full lubrication as part of the service visit, and you can call (213) 816-2483 to schedule.
A single torsion spring replacement in Pasadena typically runs $180 to $340 installed, and most doors have two springs, so a pair runs $280 to $560. The exact price depends on the spring’s wire diameter, length, and whether you have standard or high-cycle springs. At Servo Garage Doors Pasadena, the price is flat and written before any work starts, and the technician photographs the failed spring before quoting the replacement, per Clause 4 of The Haven Standard. For an exact price on your door, call (213) 816-2483 and we’ll take a look.
It means the springs have lost tension and are failing. A healthy door stays put or drifts an inch at most. A door that drops requires spring replacement, not adjustment, because the metal has fatigued past the point where tightening helps. Call a professional before the opener motor takes on the extra load and fails in sympathy.
Yes. The October temperature swing between daytime highs and nighttime lows creates thermal contraction stress on the spring wire, and that stress is what pushes a marginally worn spring past its breaking point. We see the spike in Pasadena service calls every year in the third week of October. Running the full checklist in late September is the best way to catch a spring before it fails that way.
Not necessarily. Daylight means the gap is already significant, but the seal can fail the paper test before daylight is visible. If a sheet of paper slides freely under the closed door, or the underside of the seal feels cracked or hardened, replace it even if no light shows through. In Pasadena, weatherseal replacement runs $80 to $160 and takes about 30 minutes. If you want us to check yours during a free estimate, call (213) 816-2483.
Yes, and yes. The balance test involves pulling the red release cord and lifting the door to waist height. You’re not touching the springs, cables, or any component under stored energy. The test is safe for any able-bodied homeowner, and it’s the single most informative check on this entire list. If the door drops hard or rises fast, stop there and call a professional.
For repair or maintenance beyond your comfort level, our team at Garage Door Installation in Pasadena offers the same flat-price written-quote process for full door replacements, new installations, and component upgrades.
The Bottom Line
A garage door maintenance checklist is only as good as the thresholds it gives you. You now know the gap size that means weatherseal replacement, the travel deviation that means a cable issue, the balance-test outcomes that mean spring replacement, the lubricant that works and the ones that make things worse, and the photo record that makes every future repair verifiable. Run the full list twice a year, run the balance test monthly, and you’ll catch most failures before they become emergencies. For more guides & resources, visit our blog. Pasadena’s October temperature spike is the highest-risk window all year, so if you only do one full pass, make it late September. And when you do call a professional, ask for the documentation: a written price before work starts, and a photo record when the job is done. That’s the standard we’ve worked to since 2015, and it’s the one your garage door deserves.
Call (213) 816-2483 for a free estimate in Pasadena. We answer live, and we’ll put the price in writing before any work begins.
Written by Marcus Deller, Owner at Servo Garage Doors Pasadena, serving Pasadena since 2015.